Welcome to the Bobber Blog

The new front end look

Home
Contact Me
Links
In the Beginning
The new front end look
Oooo... Ahhhh
Carberation Conglomeration
Coils and Valve Cover
Retro Hardtail
Odds and Ends
Back at it in March

I did plenty of research prior to buying the bike and already knew what I wanted the look to be. I was going for a clean, minimal clutter, smooth look. I think things are progressing nicely...

bars2.jpg
I like where it's heading

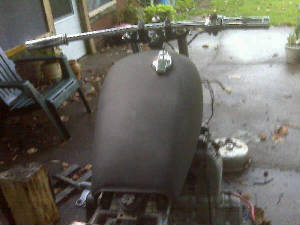
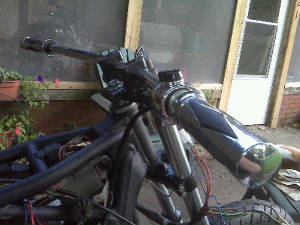
Here you can get the overall idea of the end product. That's after new head bearings and races, new wheel bearings, new polished forks, and refinished triple tree components. Below are some details about the upgrades.

seatview.jpg
tank and bars

frontmaster.jpg
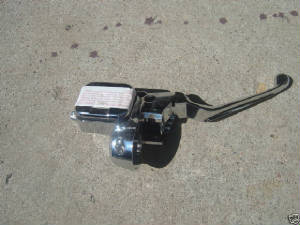
my new HD front master

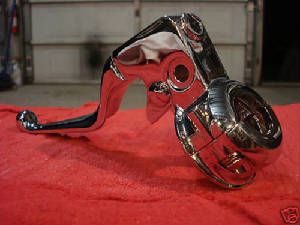
The Harley levers fit 1" HD and 'custom' bars. Yammy bars are 7/8" so you're gonna need a shim. Suggestions from some fellow XSives include .064" copper shim stock, steel shim stock, and electrical tape. It's a matter of pick your poison.

bars1.jpg
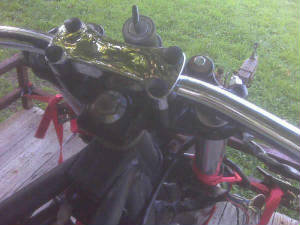
MotionPro cables should top it off nicley (-6" from stock)

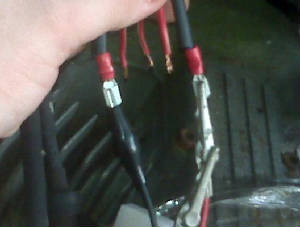
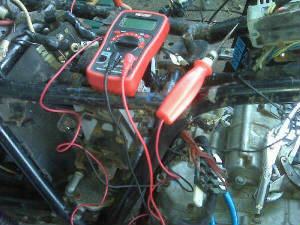
Nearly all of the front end is from MikesXS. The right controls wired fairly simple with some poking around with a test light and a few turns of the key. You'll also notice I repainted the frame. I didn't do a complete strip, but I had the rattle can out. I ground the rust off with a dremel and cutting wheel.

topclamp.jpg
I highly recommend the top clamp - bike is on the trailer for transport to the welder Sunday (9/20)

clutchlever.jpg
my new HD clutch lever

rightcontrols1.jpg
Blue/White needs to ground, All Reds are hot always

The controls took a lot of this before I finally got her figured out.

scary.jpg

I was almost afraid of wearing this thing out. Not the test light, it's been in pop's toolbox for decades.

Race Bearings:
To change the races, cut them at about 140° angle to the top and bottom of the steering head with a cutting wheel on a dremel. This allows you to penetrate the thicker portion of the race which allows it to break along your cut easier. Freeze your new races and they will almost pop right in. You can notch a groove in your lower inner head to help you get a drift punch on the edge of the race for future changes.
 
Lower Triple Bearing:
Take a chisel and seperate the bearing from the tripple tree. It only needs to move about 1 1/4" before it will slide down the shaft. Freeze the TT before installing the new bearing. Use the old bearing as a "safety" barrier between the good bearing and what you're hitting. Most recommend a pipe that will fit over the center tree. Be sure and pack the bearings with a waterproof grease prior to install. A good rule is you can't have too much.
 
Front Wheel Bearings:
A punch will work fine getting the old bearings out. If I remember correctly, you need to install the new bearings speedometer side first. They tap in easily, and no real difficulty comes into play.
 
Right Control Wiring:
When you take the old controls apart, you can see the functions are quiet simple. There are two Red/White wires that need to connect together to complete the kill circuit. One will be hot with key on, attach it to the Red/White on the controls. The other attach to the Tan from the controls. This completes the kill circuit. I also wired up a Red/Yellow which appears to be a headlight On/Off to the Red/White on the controls as well. The start circuit does nothing but complete a ground for the starter. There is a Blue/Black in the harness that need to connect to the Blue/White. Then your signal or current is moving out of the switch on the Black when the button is pressed which HAS to be ground. I had a Blue/White in the harness right controls which I could get to do nothing. Further along I will do some more testing with this, but include it in the section.

Do not attempt anything outside of your own capabilities without a professional nearby