|
|
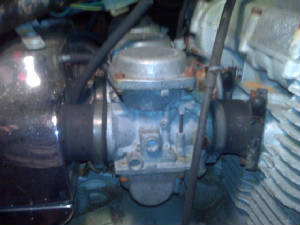
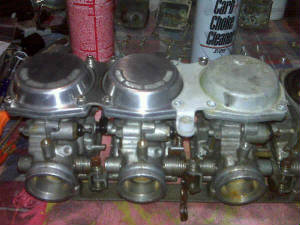
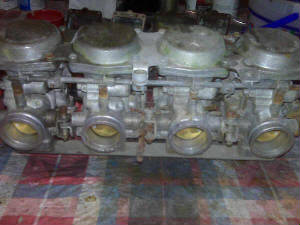
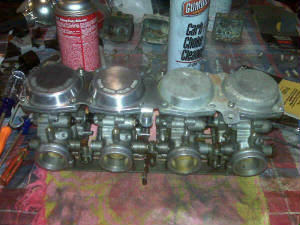
| Here's what I'm starting with |

|
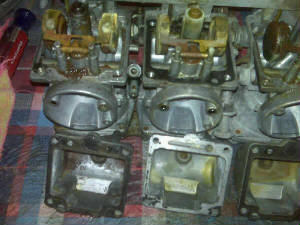
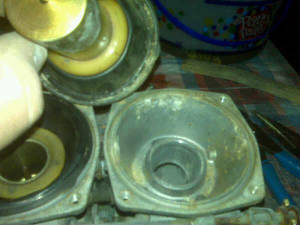
| Bowls off (see the float difference on #3) |
|
| Quick hose down with carb cleaner |
|
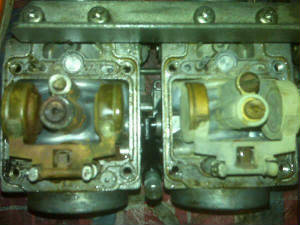
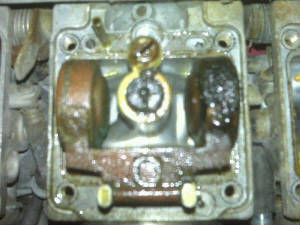
| I almost missed this little bugger. Left side of the picture the pilot jet plug has been broken off |
|
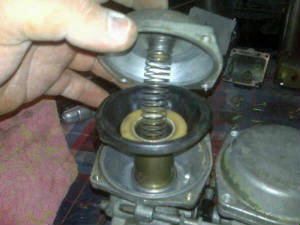
| You can see the diaphragms and covers are very simple to remove |

|
| Carb slide reference |
I removed the choke lever, due to its broken condition and stripped screws, to be replaced in the nearer future.
I also removed the choke shaft because it wouldn't function. I then noticed I had no locator ball or spring, maybe this
is why it wouldn't funstion. The butterflies wouldn't move either. Not so much them, but the shaft. I soaked several areas
with PB Blaster. Let sit for 10 minutes came back to it. Choke slide would move, but the butterflies wouldn't. Blasted them
again and came back and they would move a little. Sparyed them down one more time and worked them a little bit and eventually
they were springing back to close position as perscribed.

|
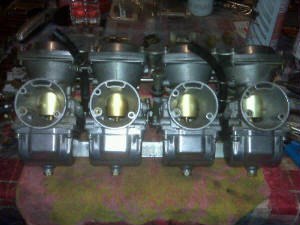
| Diphragms after cleaned and re-installed |
|
| See the difference |
|
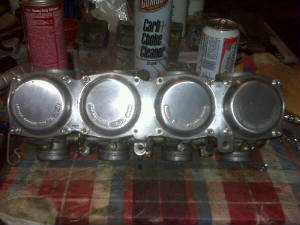
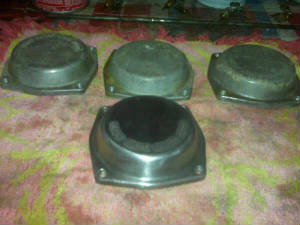
| Caps finally done |

|
| Replacing #4 |
|
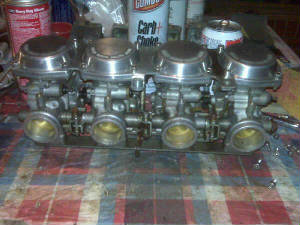
| Just after the body swap |
|
 |
|
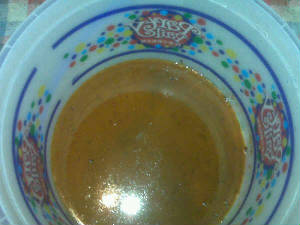
| I wanted to drain the bowls before removing them. Here's what I found in 3 & 4 alone |
To the left you can see the varrying differences in how each carb changes. #4 was the worst, while having the
most fluid in it. #3 was the cleanest, assuming no fluid had been sitting and it was rebuilt recently because I noticed a
different style float. #2 had a black crusty substance in it while #1 had an orange paiste.
|
| The black crust on #3 |
|
| All the bowls are off, now to the tops |
|
| dirt in the diaphragm and carb body on #1 |
|
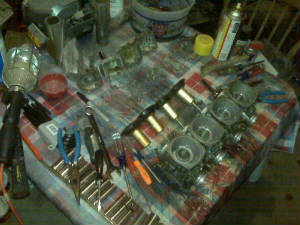
| All torn down with everything laying in order |
I saw a youtube video on carb rebuilding that stated you want to keep the carb diaphragms wet and from drying
out. These have been dry for a while and I'm not sure of the proper steps to take here, but I will notfy you as soon as I
know.
The plan is to go through the carbs to make them function while cleaning at the same time. I'm referring to my
Clymer's for each individual part that is excessively rusted or broken to check the CMSNL, or any other website for that matter, for possible replacements. I'm going for a nearly new looking set of carbs. Anything
you're unsure of can be searched in the forums of XS11.com.
Diaphragms are good as long at they aren't cracked and there are no holes. I used some silicone spray to
losten them up a little and to rub the dirt off.
|
| Polishing the caps and replacing the cap screws |
|
| You can see that it's going to look pretty nice all cleaned up |
|
| Gonna look good, but they still need a lot of work |
After taking these carbs completely apart, I think I'm going to have to throw quiet a few dollars at them to
get them operational. I purchased another XS1100SF in IL. on 8/29/09 and the carbs that came with it look great. Since at
a stopping point before needing to buy some parts to make the carbs work, I started in on the new set. I found a broken float
post, no float needles, stripped pilot jet threads, and a broken choke lever plunger. Other than that these carbs were in
good shape. So I swapped the boddies for the #1 and #4 carbs with those from the other set. I installed new mains and pilots
that came with the bike. And will hopefully soon be sending them to Jessie Cahill in Fortuna, CA for a good cleaning and polish.
8/26/09 - I will be using the carbs shown on my other stock XS1100 SF. I'm changing the mains in the
carbs for this project to accomidate the open headers. Below I will post more pics of this minor swap and a little extra use
of cleaner may be in order.
|