Welcome to the Bobber Blog

Coils and Valve Cover

Home
Contact Me
Links
In the Beginning
The new front end look
Oooo... Ahhhh
Carberation Conglomeration
Coils and Valve Cover
Retro Hardtail
Odds and Ends
Back at it in March

Here's the coil swap which is very simple for anyone to accomplish

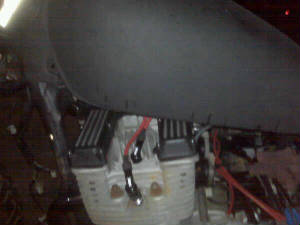
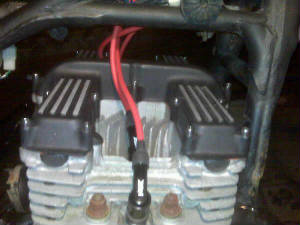
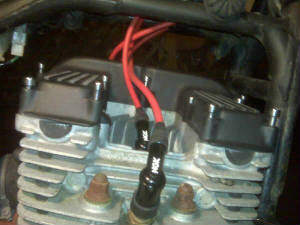
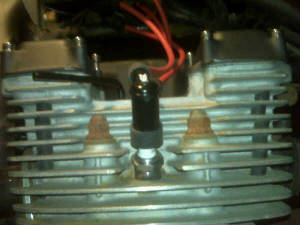
To start with, you're going to want to disconnect the battery. Remove the frame cover if you have one. Then the 
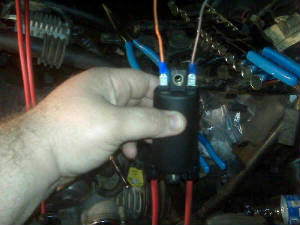
2 bolts that hold up both coils along with ground them. I kept the leads from the old coils by cutting them from the assemblies and splicing on female spade connectors. Your Orange and Grey wires will connect to your (+) terminals and the Red/Whites to the (-) terminals. Mounting them is simply removal in reverse. I ditched the frame cover due to my inability to mount it with my straight styled connectors.

coils2.jpg

coils1.jpg

coils3.jpg

Most of us want to do some work to the valve cover. The valve cover gasket alone is around some $20 to $30 and up. So I used Red RTV High Temp gasket maker to keep costs down. I've seen this done badly in some pics on channel 11 so I was leary of the color because it will stand out like a sore thumb. Here's the process with the plug wires drapped over the front tank rubbers.

cams1.jpg
Remove your cover exposing your cams

vcover2.jpg
Replace cover and bolts wiping away extra quickly and making sure to add thread lock to those bolts

wtank.jpg
Here's the area with a somewhat finished look

vcover1.jpg
Remove your bolts

cams2.jpg
Apply your gasket maker cautiously

vcover3.jpg
Refit plug wires

Do not attempt anything outside of your own capabilities without a professional nearby